How Do You Turn Yourself Into an Anime Character From a Photo?
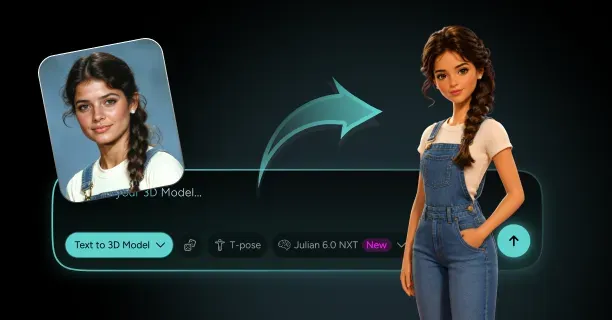
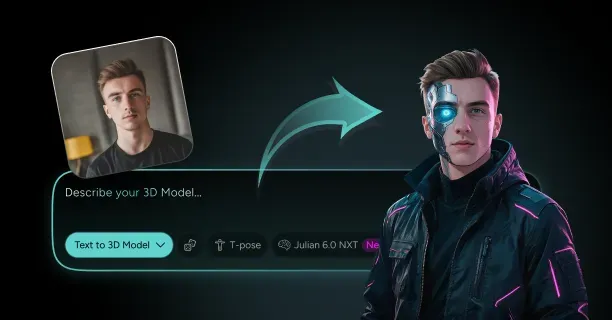
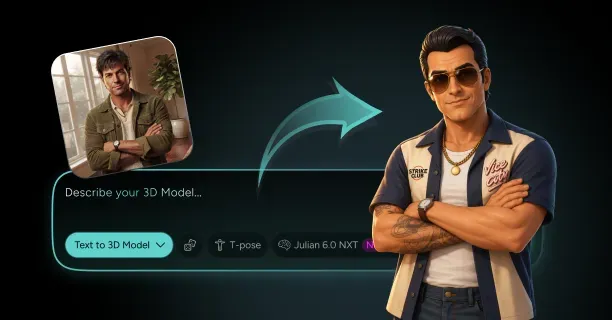
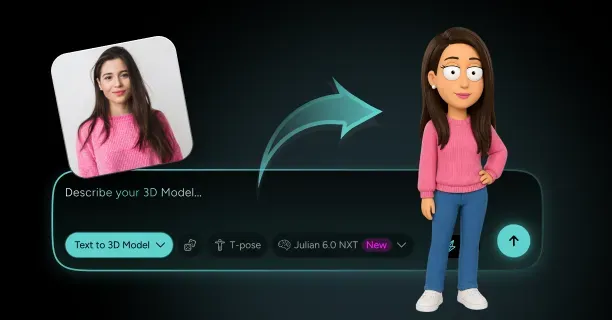
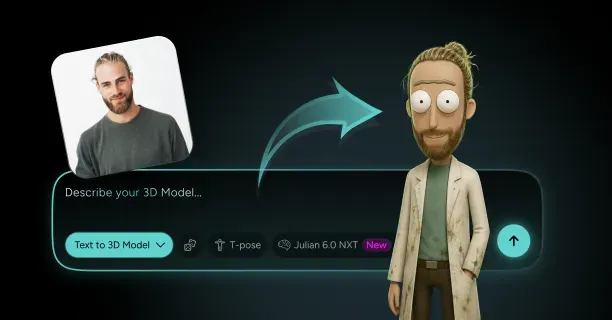
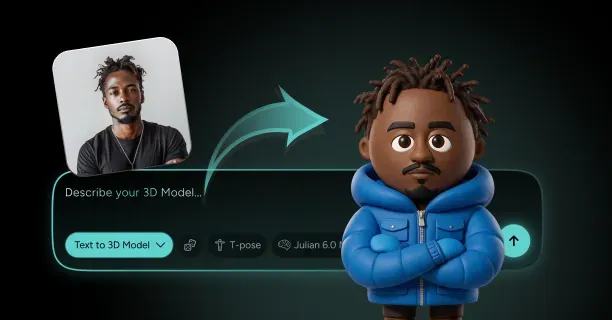
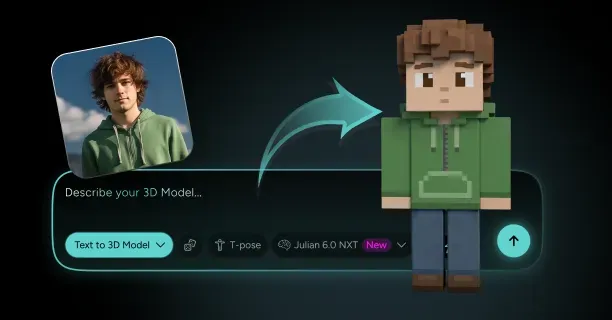
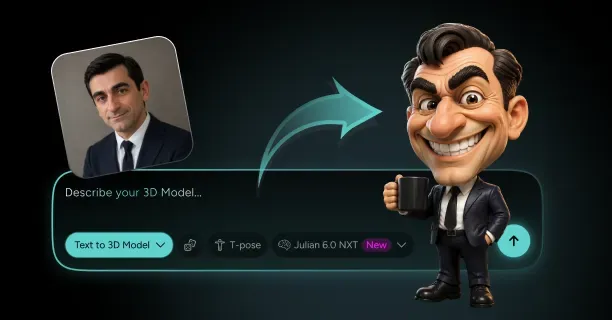
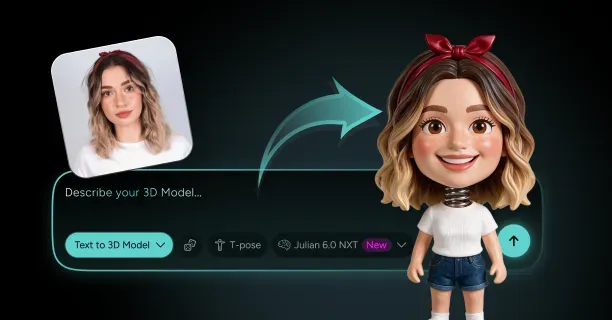
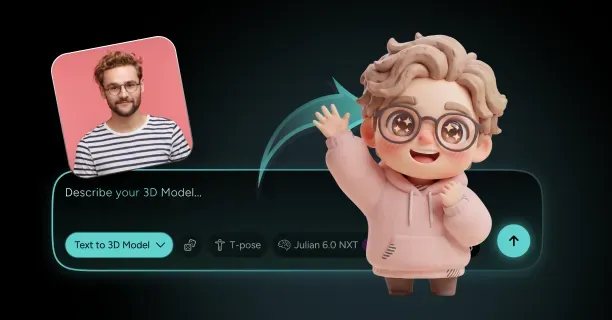
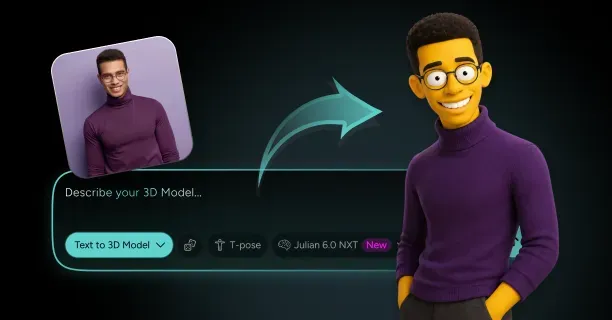
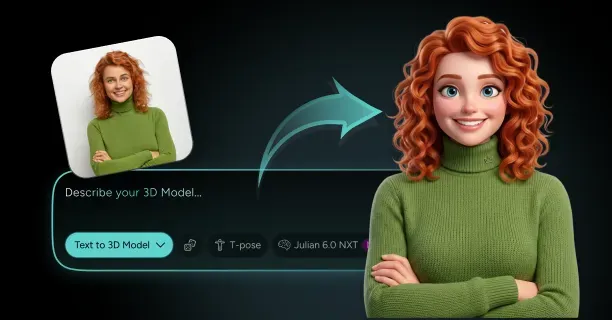
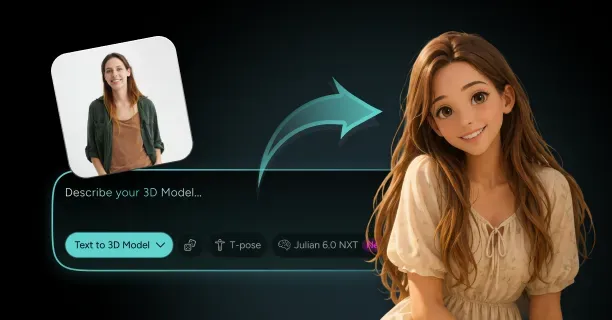
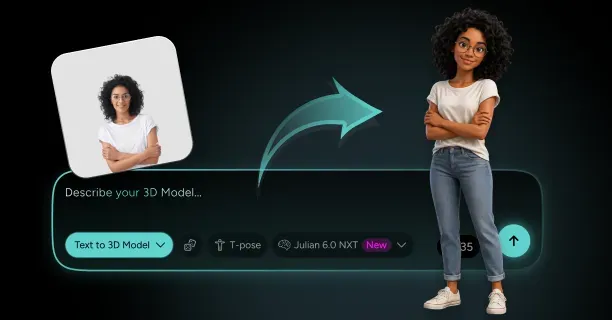
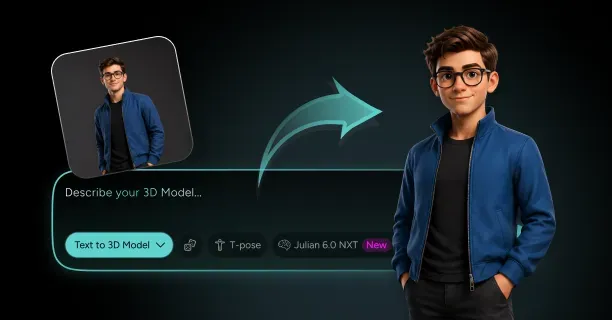
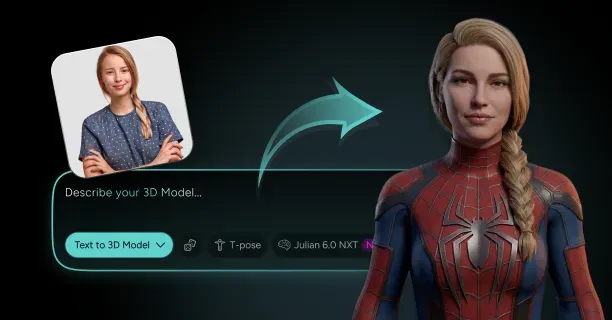
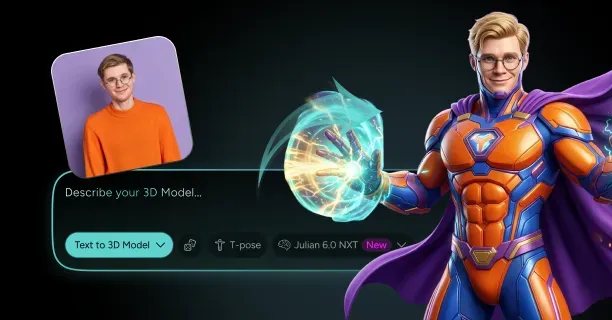
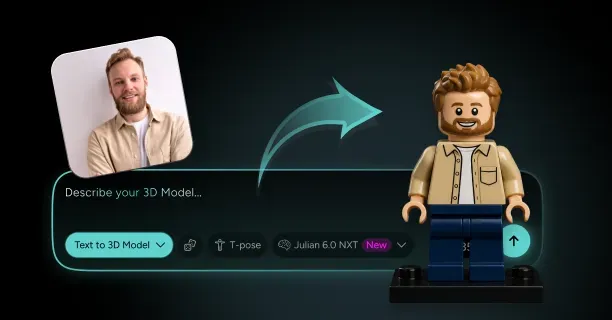
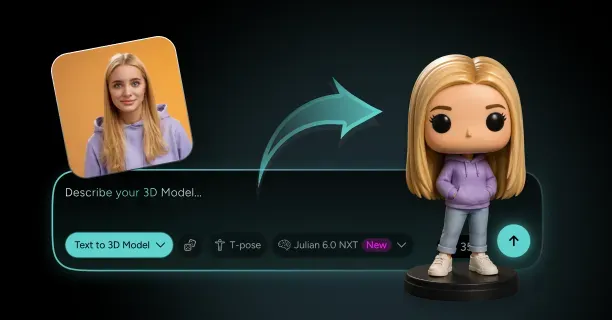
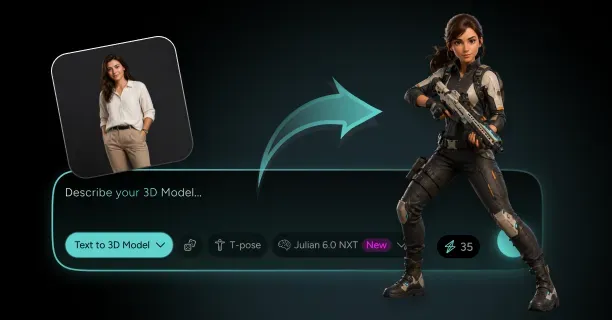
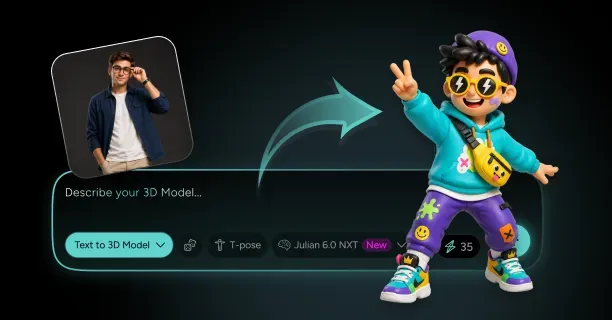
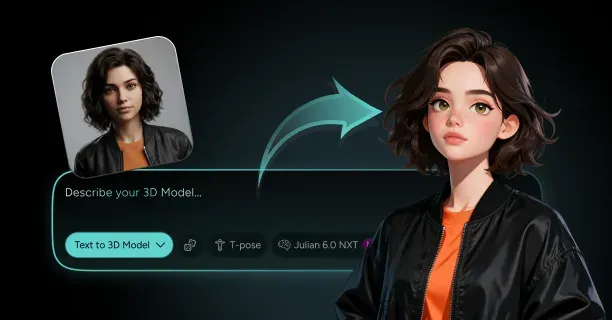
To turn yourself into an anime character from a photo, upload a sharp, evenly lit front-facing portrait plus a three-quarter angle to an image-to-3D generator, describe your own features in the prompt rather than a generic anime archetype, and let the system rebuild your face at anime proportions. Threedium's AI 3D model generator runs this whole path with its Julian NXT engine: it reconstructs a watertight mesh from your reference images, produces PBR texture sets you can flatten into toon zones, auto-rigs a humanoid skeleton with 52 ARKit blendshapes, and exports to GLB, USDZ, FBX, and VRM. The result is a real 3D anime character of yourself, not a flat repaint of your selfie, so you can pose it, animate it, light it, or print it.
The difficult part is not generating an anime face. It is generating an anime face that other people still identify as you. The rest of this guide walks that pipeline end to end, from reference selection through geometry refinement to export.
Choosing a Reference Photo That Anime Stylization Can Read
Everything downstream is capped by your input photo. A generator infers volume from shading gradients, contour edges, and the silhouette of your hairline and jaw. Anything that hides those cues, harsh top light, heavy contouring, a wide-angle phone lens held 20 cm from your face, gets baked into the mesh as false geometry you then have to fight. The reference set that works most reliably is small and boring:
- A front-facing portrait at 1024-4096 px on the long edge, shot at roughly eye level with a 50-85 mm equivalent focal length so your nose and forehead are not distorted.
- A three-quarter view at about 45 degrees, which is where the generator learns your cheekbone projection, brow ridge, and nose bridge height. This single extra image does more for likeness than any prompt wording.
- A profile shot if your nose or chin is a distinctive part of how people recognise you, since anime stylization flattens both aggressively.
- A hair reference from behind or above if your hairstyle has structure the front view hides: an undercut, a specific parting, a bun, locs, a fade.
Shoot with soft, frontal, diffuse light: an overcast window is close to ideal. Neutral expression, eyes open and level, no sunglasses, no hat brim shadow across the eye sockets. Crop out busy backgrounds so the silhouette of your head and shoulders is unambiguous. If you wear glasses daily, supply one photo with them and one without, so you can model the frames as a separate accessory later.
Avoid heavily retouched or beauty-filtered selfies. Skin-smoothing filters erase the shading gradients across the nose and cheeks that reconstruction depends on, and the output usually arrives with a flat, underdefined midface that reads as generic rather than as you.
Writing a Prompt That Describes You, Not a Generic Anime Character
Most first attempts fail at the prompt, not the photo. People write "anime girl with brown hair, blue jacket" and receive a competent, completely anonymous character. The prompt has to carry the identity information the stylization pass is most likely to discard, and it has to do it in the vocabulary of geometry rather than the vocabulary of adjectives.
Describe measurable, structural traits in roughly this order: face shape, jaw and chin, brow, eye shape and set, nose bridge and tip, mouth width, skin tone, hair volume and parting, then the anime target. A working example: "square-jawed adult male face, wide-set almond eyes with slight downturn at the outer corner, heavy straight brows, broad nose bridge with rounded tip, medium-brown skin, thick black hair with tight curl pattern cut into a high-top fade, stylized as a seinen-style anime character at 7-head proportions, cel-shaded." Three habits separate prompts that preserve likeness from prompts that do not:
- Name asymmetries and irregularities explicitly. A slightly higher left brow, a crooked incisor, a broken nose bridge, a scar. Generators average toward symmetry, and symmetry is the fastest way to lose a face.
- Give relative measurements, not absolutes: "eyes set wider than average," "short philtrum," "chin projects past the lower lip," "forehead taller than the midface."
- Keep the style token at the end and keep it short. "Anime, cel shaded" is enough. Long stylistic prose pulls the model toward famous character archetypes and away from your reference.
Leave clothing out of the identity prompt. Wardrobe is easier to control in a second pass, and colour words in the first prompt tend to bleed into skin and hair tones.
Uploading Your Photo and Generating the First 3D Anime Pass
With references prepared and the prompt written, the first generation is fast. On Threedium's likeness workflow you attach the images, paste the prompt, and set the output target before generating. The initial pass typically returns a textured mesh in the 15,000 to 40,000 triangle range with a 2048 x 2048 or 4096 x 4096 base colour map, which is the right density for a stylized character: enough to hold hair clumps and clothing folds, light enough to run in a browser or a game engine.
What you want from that first output is structure, not polish. Orbit the mesh and check four things: does the skull silhouette match your head shape from the side, is the jaw-to-cheekbone relationship preserved, does the hair mass sit where your hair sits, and is the neck-to-shoulder transition plausible. Surface detail is cheap to change later; underlying proportion is not.
Expect two to four generations before committing. Vary one thing at a time: the primary reference image, a single geometric phrase, or the head-to-body ratio. Changing three variables at once tells you nothing about which one helped. Keep every candidate, since the strongest likeness and the cleanest topology are often in different generations.
Picking an Anime Style: Shonen, Shojo, Seinen, or Ghibli-Adjacent Looks
Style choice changes how much of your face survives, so pick it before refining rather than after. As a quick chooser: shonen pushes angular jaws and spiky hair, flattering strong bone structure and erasing soft ones. Shojo maximises eye area and slims the jaw, keeping eye colour and hairstyle but sacrificing the lower face. Seinen and josei stay closest to real proportions, and Ghibli-adjacent looks trade sharp linework for rounded, painterly volumes.
Match that against whichever feature carries your recognition: a strong jaw and heavy brows survive best at the shonen and seinen end, while eyes, hair colour, and a soft round face survive best at the shojo end. Seinen at 7 heads is the safest adult default, deviating least from your real proportions. To invent a character rather than reproduce yourself, the anime character generator covers substyle choice from the design side.
Checking the Likeness: Does the First Render Still Read as You?
Judging your own likeness is unreliable: you know what you look like from the inside and you will forgive errors other people will not. Use a repeatable test instead of an impression.
Render the model at the exact camera angle and framing of your reference photo, place the two side by side at the same pixel height, then shrink both to 128 px tall. At thumbnail size all fine detail disappears and only identity-carrying macro features remain: hairline shape, hair mass silhouette, brow-to-eye distance, face width relative to height. If the thumbnails read as the same person, the model is working. If they do not, no amount of texture polish will fix it.
- Front silhouette: outline both heads in black. Do the widths at brow, cheekbone, and jaw line up within roughly ten percent?
- Profile line: compare forehead slope, nose bridge angle, and chin projection. Anime flattens noses, but the angle of your bridge should still be directionally right.
- Feature spacing: measure interpupillary distance as a fraction of face width in both images. That ratio is one of the strongest identity cues and one of the first things stylization destroys.
Whatever fails becomes your refinement list. Do not move on to shading or clothing until the thumbnail test passes, because every later step makes geometry edits more expensive.
Refining Facial Geometry So Your Anime Self Stays Recognizable
Refinement is where an anime character from photo workflow either converges on you or drifts into a stock face. Fix structure in strict order: skull mass, jaw and chin, brow and eye sockets, nose, mouth, then surface detail. Working out of order means redoing the same corrections repeatedly, because moving the jaw shifts everything attached to it.
You have three routes. Prompt-and-regenerate feeds targeted corrective language back in: "narrower jaw at the gonial angle, chin projecting further forward, brow ridge heavier, eyes set 5 percent wider." It is fast, needs no 3D software, and two or three rounds usually close most of the gap. Direct editing takes the exported mesh into Blender or ZBrush and sculpts the cage directly, which gives absolute control but demands enough grasp of edge flow not to wreck the topology before rigging. The third, available on enterprise tiers, is refinement by human 3D artists, which is what most people want once the face is going into a product, a game, or anything printed.
Whichever route you take, keep the reference photo pinned in the viewport at 30 percent opacity over the front orthographic view. Sculpting a stylized face without a reference overlay reliably produces a face that is attractive, symmetrical, and not yours.
Converting Your Hairstyle Into Anime Hair Clumps, Spikes, and Bangs
Hair carries more recognition weight than any single facial feature, and it is also the feature most distorted by stylization. Real hair is millions of soft-edged strands. Anime hair is a small number of solid geometric clumps with hard silhouette edges, usually 8 to 30 distinct masses for a full head. The conversion is a deliberate act of abstraction, not a resolution reduction.
Treat your hairstyle as three separable elements: the fringe or bangs that break the forehead, the side masses that frame the cheeks, and the back and crown volume that defines the silhouette from behind. Identify the two or three shapes in each that a caricaturist would exaggerate, and let the rest simplify into flat surfaces.
- Straight, parted hair converts most directly: keep the parting position exactly where yours is, since an off-by-two-centimetres parting reads as a different person.
- Curly and coily hair should become clustered lobes with a defined outer silhouette rather than spikes. Preserve the hairline shape and overall volume envelope; the anime convention for texture is a scalloped outline, not individual curls.
- Very short hair, fades, and buzz cuts should stay tight to the skull as a shaped cap. The temptation to add anime volume here is the single most common likeness killer for short-haired subjects.
- Long hair needs 6 to 12 major planes with slight twist, plus a couple of loose strands for life. Modelled as one solid block it reads as a helmet.
Budget roughly 3,000 to 12,000 triangles for stylized hair on a real-time character, built from intersecting cards or solid shells. For 3D printing, avoid paper-thin cards entirely and use closed shells at least 1.5 mm thick at print scale.
Setting Eye Size and Placement Without Losing Your Real Eye Shape
Anime eyes are enlarged, typically to 1.5x to 3x the vertical height of a realistic eye relative to face height. The mistake is enlarging them uniformly: scale on both axes, centre in the socket, and you get a default anime eye with one of your strongest identifiers thrown away.
Scale primarily on the vertical axis and preserve the horizontal characteristics: eye width relative to face width, the canthal tilt, the visibility of your upper eyelid crease or its absence, and the distance between your eyes. Monolid, hooded, deep-set, and almond eyes all have valid anime conventions that keep the underlying shape while enlarging the aperture.
Interpupillary placement matters more than size. Measure the distance between your pupil centres as a fraction of head width at the temples, then match that fraction on the model. Wide-set and close-set eyes are read instantly even when everything else is stylized.
For the iris, keep your real eye colour as the dominant hue and add the anime convention on top: a darker upper gradient, a lighter lower rim, one large specular highlight at the 10 or 2 o'clock position, and a smaller secondary highlight opposite. Model the eyes as separate spheres or shaped discs parented to the head rather than merged into the face mesh, so they can rotate for gaze and blendshape deformation stays clean.
Applying Cel Shading and Toon Outlines to the 3D Mesh
The generated model arrives with PBR materials: base colour, roughness, metallic, normal. To read as anime it needs flat lighting instead. You replace continuous shading with a two or three step ramp, reshape the roughness response so highlights become defined shapes rather than soft falloff, and add a silhouette outline via an inverted-hull pass or screen-space edge detection at 1 to 3 pixel line width. The full treatment, including ramp authoring, shadow colour, rim lighting, and per-engine setup for Unity, Unreal, and VRM viewers, is covered on the 3D anime avatar guide.
One likeness-specific note: cel shading hides geometry errors and also hides likeness. Flattening the shading removes the subtle form shadows across your cheeks and nose that were carrying part of the recognition. Always run your side-by-side check both with cel shading on and with plain unlit or lightly shaded materials, because a face that only reads as you under studio PBR lighting will stop reading as you the moment the toon ramp lands.
Dressing Your Anime Self: Outfits, Uniforms, and Signature Accessories
Clothing is identity at a distance. Before anyone is close enough to read your face, they read your silhouette, and the outfit is most of that. This is why the character you actually want is usually you in the clothes you actually wear, not you in a school uniform. Describe garments the way a costume department would: silhouette, closure, collar, sleeve length, hem, material weight, and colour. "Oversized olive bomber jacket, ribbed collar and cuffs, zipped halfway, hem at hip, worn over a white tee" produces something far closer to your actual jacket than "green jacket."
Two approaches work. Generate the outfit with the character in a second pass, which is fast and keeps everything as one mesh, or build the body in a neutral fitted layer and add garments as separate meshes, which costs time but lets you swap outfits later. For anything you will reuse, VTubing, a game character, a recurring mascot, the modular route pays for itself quickly.
Accessories are where likeness gets cheap and reliable. Glasses, a specific watch, a chain, a piercing, a headband, a distinctive bag: each is an unmistakable identifier that survives stylization intact because it is a rigid object rather than a face. Model your two or three most-worn accessories as separate objects with their own materials, keep them under a few hundred triangles each, and parent them to the appropriate bone so they follow the rig.
If your first three attempts all lose the likeness, add an accessory you wear daily before you touch the face again. A pair of correctly shaped glasses frequently does more for recognition than another round of jaw sculpting.
Rigging Your Anime Character for Poses, Expressions, and Animation
A static bust is a portrait. A rig turns it into a character you can use. Automatic rigging on Threedium fits a standard humanoid skeleton, typically 50 to 70 bones for body plus fingers, and applies skin weights so the mesh deforms at shoulders, elbows, hips, knees, and spine without collapsing.
For the face, the relevant standard is the 52 ARKit blendshapes: browInnerUp, eyeBlinkLeft and Right, jawOpen, mouthSmileLeft and Right, cheekPuff, and the rest. That set matters because it is what iPhone face tracking outputs and what VTuber software, Unity, Unreal, and most webcam pipelines expect. A model with all 52 drives from a phone camera with no retargeting; a partial set needs manual mapping and drops expressions. Anime faces then have specific rigging quirks worth checking on the first pass:
- Large eyes need eyelid geometry that can actually close. Blink at 100 percent and confirm the lids meet cleanly without the eyeball poking through.
- Solid hair clumps must be weighted to the head bone, or they lag and shear during head turns. Long hair benefits from 2 to 4 extra bones per major strand.
- Jaw-open shapes are exaggerated in anime, so check that jawOpen at full value does not tear the cheek geometry.
- Accessories need explicit parenting: glasses to the head bone, a bag to the spine or shoulder.
Test before export with a short pose set: A-pose to T-pose, a 90 degree head turn each way, a full blink, a wide smile, a jaw-open, and a deep knee bend. Anything that pinches in those six poses will tear in every animation you play.
Exporting Your Anime Self in GLB, USDZ, or FBX
Format choice follows destination, and it is worth exporting more than one since the file is already built.
| Format | Best for | Carries rig | Practical notes |
|---|---|---|---|
| GLB | Web viewers, embeds, social 3D posts, most engines | Yes, skeleton and blendshapes | Single self-contained file with textures embedded. Keep under 15-25 MB for fast web loading. |
| USDZ | iOS AR Quick Look, Apple ecosystem | Limited animation support | Opens natively on iPhone and iPad with no app. Good for sharing a preview link. |
| FBX | Unity, Unreal, Maya, Blender production work | Yes, full skeleton and morph targets | Industry default for game and animation pipelines. Check unit scale on import, 1 unit to 1 metre or 1 centimetre. |
| VRM | VTubing, VRChat, social VR platforms | Yes, plus standardised expression set | Bakes humanoid bone mapping and expressions into the file so avatar platforms accept it directly. |
Before exporting, run a short cleanup: apply all transforms so scale is 1.0 and rotation is zero, confirm the model faces down the correct axis for your target engine, verify the mesh is a sensible 1.6 to 1.8 metres tall if it will share a scene with other humanoids, and remove duplicate or zero-area faces. Name materials descriptively rather than leaving them as Material.001.
2048 x 2048 is the practical texture default for a stylized character. Cel-shaded models carry very little high-frequency detail, so 4096 maps are usually wasted bytes unless you are rendering close-ups at print resolution. If the destination is a real-time platform with strict limits, check its budget first: many social VR platforms want a full avatar comfortably under 32,000 triangles on desktop and closer to 7,500 to 10,000 on standalone headsets, which polygon optimization on the generated mesh will reach.
How Do Your Real Facial Features Translate Into Anime Features?
Anime stylization is not a filter applied evenly across a face. It is a set of specific transformations, each affecting a different feature by a different amount: some enlarged, some simplified to a line, some deleted outright. Knowing which is which is the entire skill, because it tells you where to spend your correction budget and where to let the style do what it wants. The table below is the short version: what happens to each feature by default, and how much identity you lose when it does.
| Real feature | Default anime treatment | Likeness carried | Correction priority |
|---|---|---|---|
| Eyes | Enlarged 1.5-3x vertically, simplified lids | High, if shape and spacing preserved | Critical |
| Hairstyle | Reduced to 8-30 solid clumps | Very high | Critical |
| Jaw and chin | Narrowed, tapered to a point or soft V | High | High |
| Nose | Reduced to a wedge, dot, or single line | Low to none | Low |
| Mouth | Narrowed, simplified, lips flattened | Low to moderate | Moderate |
| Brows | Simplified to solid shapes, often thickened | Moderate to high | High |
| Skin tone | Flattened to 2-3 flat values | Moderate | Moderate |
| Freckles, moles, scars | Usually deleted | High when present | High |
| Glasses and accessories | Preserved intact as rigid objects | Very high | Keep them |
Eye Enlargement: Keeping Your Eye Shape and Color Recognizable at Anime Scale
A realistic adult eye occupies roughly one fifth of face width and sits at about the vertical midpoint of the head. Anime widens the aperture to somewhere between a quarter and a third of face width and raises the apparent size dramatically by increasing vertical opening and shrinking the nose and mouth around it. The eye is the feature that changes most in absolute terms, which is exactly why it is the feature people assume cannot carry likeness. It can, if you scale it correctly.
The identity information in an eye lives in four measurements, none of which is size: canthal tilt, the angle from inner to outer corner; eyelid exposure, whether you show a crease, a hooded fold, or a monolid; intercanthal distance, how far apart the inner corners sit relative to one eye width; and iris visibility, how much of the iris your resting lid position covers. Anime enlargement preserves all four if you enlarge along the vertical axis and let the horizontal follow proportionally rather than snapping to a template.
Colour is the cheapest identity anchor you have. Sample the actual hue from your reference photo at the iris midpoint rather than picking from a palette, then build the anime treatment on top: darker at the top where the lid casts shadow, brighter at the bottom, a defined pupil, and a hard-edged highlight. Do not neutralise unusual colours. Grey-green, amber, and heterochromatic eyes are strong recognition signals and stylize beautifully.
One practical trap: generators widen the intercanthal distance to fit larger eyes into the same face width, subtly turning everyone into the same wide-eyed character. If your first pass looks like a generic anime version of yourself rather than specifically you, measure pupil spacing before you touch the jaw.
Nose Simplification: From Photoreal Nose to a Single Line or Wedge
The nose takes the heaviest reduction in the whole face. Depending on style it becomes a small triangular wedge with a shaded underside, a single vertical line, a bare dot at the tip, or in minimal shojo and moe treatments almost nothing. If your nose is a defining feature in real life, this is where you lose the most and must compensate elsewhere.
Accept the reduction rather than fighting it. A realistically modelled nose on an anime face looks wrong from every angle and immediately breaks the style. What you can preserve is projection and angle in the profile silhouette. Even a nose reduced to a wedge has a length, a bridge angle, and a tip height, and those three values are what carry across. A hooked bridge should still hook slightly. A short upturned nose should still turn up.
The settings that matter are bridge height from the plane of the face, usually 30-50 percent of your real projection, tip position vertically between brow and chin, and nostril indication, which in most anime styles is a soft shadow rather than modelled nostrils. Nose width almost never survives, so expect normalisation there and recover the lost likeness in the brows and jaw.
Mouth and Jaw Mapping: How Your Face Shape Survives Stylization
The jaw is the second most important likeness carrier after hair, and the feature stylization most aggressively standardises. The anime default taper narrows the jaw and brings the chin to a soft point, so round, square, and heart-shaped faces all converge on the same oval.
Resist that by specifying the three jaw measurements explicitly and checking them in the front orthographic view: bizygomatic width (cheekbone to cheekbone), gonial width (the widest point of the jaw angle), and chin width and projection. The relationship between the first two is what makes a face read as square, oval, round, or heart-shaped, and the ratio survives stylization fine as long as you preserve it deliberately. A square jaw at anime scale is still a square jaw, just with cleaner lines.
The mouth carries less identity but not zero. Anime narrows it to near the width between the pupils and flattens lip volume to a line or simple shape. What you can keep is mouth width relative to nose width, philtrum length, which strongly signals age and face proportion, and any pronounced asymmetry such as a one-sided smile. Full lips can be indicated with a subtle shadow under the lower lip rather than modelled volume.
Check both features together in a smile pose, not just at rest. Jaw and mouth interact, and a face that reads correctly at neutral can lose the likeness entirely once the mouth opens.
Skin Tone Flattening and Cel-Shade Color Ramps
Realistic skin has continuous variation: subsurface red at the ears and nose, cooler tones at the temples and jaw, a gradient across every curved surface. Anime reduces that to two or three flat values separated by hard edges. Getting the ramp right is the difference between a model that looks like anime and one that looks like a 3D render with the contrast turned up.
Sample your base tone from a flatly lit region of the reference photo, typically the forehead or the cheek away from the light, and correct any colour cast from the photo's white balance before you use it. Then build the shadow tone by shifting hue toward the cool side, dropping value by 10-20 percent, and slightly increasing saturation. That last part is counterintuitive and it is what separates good cel shading from bad: an anime shadow is a more saturated, cooler version of the base, not a grey version of it.
Deeper skin tones need extra care, because naive value reduction turns them muddy. Shift toward warm red-brown or cool violet in shadow rather than toward grey, and keep the value gap tighter, 8-15 percent rather than 20, so the face does not fragment into disconnected dark patches. Low-intensity ambient occlusion under the chin, in the eye sockets, and under the hairline holds it together. Where the ramp boundary lands is itself a likeness decision: a shadow edge following your actual cheekbone reinforces your face structure, while one placed by default lighting describes a different face.
Hair Conversion: Turning Real Hair Texture Into Anime Strand Clusters
Hair deserves a second pass because it is the highest-value target in the whole likeness problem. In a thumbnail test, hair silhouette plus face outline is close to all the information a viewer gets, and hair is the larger of the two.
The conversion has a specific order of operations. First fix the hairline: where hair meets forehead, including any recession, widow's peak, or cowlick. This is a hard line in anime and it must be right. Second fix the volume envelope: the overall outer shape of the hair mass from front, side, and back, which you can trace directly off the reference photo. Third subdivide that envelope into clumps. Only then do you worry about which clumps spike, curve, or fall.
- Clump count by length: roughly 8-14 masses for short hair, 15-25 for medium, 20-30 plus for long hair with movement.
- Edge treatment: tips should taper to a point or a chisel, never end in a flat cut, or the hair reads as plastic.
- Interior detail: two to four value bands inside each large clump, plus the characteristic anime highlight band across the crown following the skull curvature.
- Colour: keep your real base colour, then push saturation up 10-25 percent. Anime hair is more chromatic than real hair even in naturalistic styles.
Textured, coily, and locked hair is where generic pipelines fail, since their training distribution skews toward straight hair and they will quietly straighten yours. Counter it by naming the pattern explicitly, supplying an overhead or rear reference, and checking specifically for volume above the crown, which flattens first.
Glasses, Facial Hair, Freckles, and Moles: Which Identity Markers to Keep
Anime removes small surface detail by convention: pores, fine lines, uneven pigmentation, stubble, and most blemishes disappear. Usually fine, but some of that detail was doing identity work, and you have to decide case by case what to re-add as a deliberate stylized element.
The rule of thumb: keep anything a friend would use to describe you in one sentence. "The one with the beard" or "the mole above her lip" is worth more than three rounds of jaw refinement.
- Glasses: always keep, always model as separate geometry. Match the frame shape precisely, since round, rectangular, and cat-eye frames change the read of the whole face. Thin wire frames should be thickened slightly to survive at small sizes.
- Beards and moustaches: keep, but convert to solid shapes with clean silhouettes rather than textured stubble. Anime handles full beards well and light stubble poorly, so light stubble usually becomes a soft shaded region along the jaw.
- Freckles: keep if they are dense enough to read across the nose bridge, and stylize them as a scattered cluster of small uniform dots rather than a realistic pattern.
- Moles and beauty marks: keep any that sit on the face. A single dot is nearly free in polygon and texture terms and is one of the strongest identity signals available.
- Scars, piercings, tattoos: keep and simplify. A visible tattoo can be reduced to its two or three main shapes and still read correctly.
Let go of skin texture, fine wrinkles, under-eye shadows, and temporary states such as a sunburn. These do not survive stylization, and preserving them makes the model look dirty rather than detailed.
Which of Your Features the AI Drops First, and How to Force It to Keep Them
Generative stylization has a predictable failure order. Because the model is pulled toward the centre of its training distribution, it discards whatever is furthest from the average anime face first. If you know the order, you can pre-empt it instead of discovering each loss one generation at a time.
In rough sequence, from first dropped to most durable:
- Small surface markers (moles, freckles, scars, fine asymmetries). Gone almost immediately.
- Nose width and nostril shape. Normalised to a default wedge within the first pass.
- Facial asymmetry. Everything gets mirrored toward perfect symmetry, which is the most common reason a technically accurate model feels uncanny.
- Age markers. Anime skews young. Adults over about 35 routinely come back a decade younger unless age is stated and reinforced.
- Jaw width and face shape. Tapered toward oval regardless of input.
- Hair texture pattern. Curl and coil straighten; volume above the crown flattens.
- Body type. Normalised toward slim-athletic in both directions.
- Eye colour and hairstyle silhouette. Usually preserved, and therefore your most reliable anchors.
The countermeasures are concrete. Name the trait as a positive instruction, not an exception: "prominent broad nose bridge" works, "do not narrow the nose" does not. Repeat critical traits in two different phrasings in the same prompt. Supply a reference image that isolates the trait, such as a close crop of your hair texture. And state age with a number plus a corroborating detail, "42 years old, visible nasolabial lines, mature adult proportions," because "adult" alone will not hold.
If a feature keeps disappearing across three or more generations, stop prompting for it and add it in post as separate geometry or a texture decal. A mole painted onto the base colour map takes two minutes and will never drift again.
Head-to-Body Proportions: Choosing 6-Head, 7-Head, or Chibi Ratios
Head-to-body ratio is measured in head heights: how many times the height of the head fits into total standing height. Real adults average about 7.5 heads. Anime spans a wide range and the choice fundamentally changes what your character communicates.
- 2-3 heads (chibi): stickers, emotes, keychains, small prints. Reads cute and comedic; only hair and one or two markers survive.
- 5-6 heads: moe, shojo, younger characters, many VTuber models. Youthful and soft; the face reads, the body does not.
- 6.5-7 heads: mainstream shonen and general anime. Balanced and grounded, and the practical default for likeness work.
- 7.5-8 heads: seinen, josei, and realistic series. Adult and serious, with the highest likeness retention because it sits closest to your real proportions.
Pick the ratio before refining the face, since it sets how large the face is in any frame and therefore how much detail is worth adding. A chibi at 3 heads renders your face at maybe 60 pixels tall in a typical social post, so subtle cheekbone work is wasted while hair silhouette and glasses are everything.
Destination matters too. Real-time avatar platforms and VTuber software generally expect the 6 to 7.5 head range and may have IK or camera assumptions built around it. Physical prints at 1:10 scale, roughly 17-18 cm standing, look better at 6.5-7 heads, since chibi proportions become fragile at the ankles and neck.
Recognisability Across the Three Anime Head-to-Body Ratios
The three ratios you will realistically choose between, chibi, standard, and realistic, do more than change silhouette: each redistributes where the recognition load falls and demands a different set of corrections. Treating them the same is why people get a great 7-head model and a useless chibi from the same reference.
At chibi proportions (2-3 heads), the body carries no identity: limbs are stubs, the torso is a shape. Everything lands on hair silhouette, hair colour, one or two accessories, and a single dominant facial cue, usually eye colour or shape. Delete detail aggressively, exaggerate the hair envelope by 15-25 percent beyond what looks correct at full scale, skip subtle jaw work entirely, and make your glasses one step thicker than realistic.
At standard anime proportions (6-7 heads), the face becomes the primary carrier and the body supporting evidence. This is where the feature-by-feature mapping above pays off fully: eye spacing, jaw ratio, hairline, brow shape, and skin tone all contribute measurably. Posture and build start to register too, so a broad-shouldered or slight frame is worth specifying.
At realistic anime proportions (7.5-8 heads), your actual body proportions become part of the likeness and generic idealisation becomes noticeable. Shoulder-to-hip width, limb length, neck thickness, and posture all read clearly, so a full-body reference photo earns the most here. It is also the most demanding ratio, because small facial errors that hide behind chibi abstraction become obvious.
If you want more than one, build the 7-head version first as your master, since it holds the most information. Chibi and stylized variants are far easier to derive downward from an accurate mid-range model than to rebuild from scratch, and the master keeps colour and accessories consistent across all of them.
Why Some Faces Stylize Better Than Others (and How to Compensate)
Some people get a perfect result on the first generation and some run eight attempts. That is not random. Anime stylization is a lossy compression that keeps a specific subset of information, and how well you survive it depends on how much of your recognisability lives in the parts it keeps.
Faces that convert easily have strong, simple, high-contrast features: a distinctive hairstyle, a defined jaw angle, unusual eye colour, prominent brows, a signature accessory. Anime preserves or amplifies all of those. Faces that convert with difficulty are recognisable through subtle proportion and soft-tissue detail: gentle contours, a distinctive nose, a specific smile, or the general softness anime flattens out entirely.
Age and presentation also matter. Anime's default distribution skews young and toward two fairly narrow templates, so faces outside that centre need explicit direction. Mature faces need age stated numerically with supporting detail, and androgynous or non-conforming presentations are best specified through concrete geometry, brow thickness, jaw angle, neck width, shoulder-to-hip ratio, rather than gendered labels that pull toward a template.
The compensation strategy is the same in every hard case: shift identity weight from features anime discards to features it keeps. If your nose is your defining trait, spend that budget on hair accuracy and an accessory instead. If softness is the thing, use a softer substyle rather than fighting an angular one. And use the enterprise refinement pass when likeness genuinely matters, since finding and exaggerating the two or three cues that make a difficult face read is a judgement call rather than a parameter.
The Side-by-Side Likeness Test: Verifying People Still Recognize You
The only test that matters is whether other people recognise the model, and you are the worst available judge of that. Build a small verification routine and run it before you commit the model to anything.
The full check has four steps:
- Angle match. Render at the same camera angle and framing as your primary reference. Compare at full size, then at 128 px, then at 48 px. Identity that survives 48 px is robust identity.
- Silhouette test. Fill both the photo and the render with solid black and compare outlines. Hair and head shape mismatches show up instantly and are the highest-priority fixes.
- Blind recognition. Show the render, with no context, to two or three people who know you and ask who it is. If they name you unprompted, you are finished. If they say "it kind of looks like you," ask what is off, and take the first thing they say seriously.
- Motion check. Play a blink, a smile, and a head turn. Faces are recognised partly through movement, and a likeness that holds still and breaks in motion will fail in every actual use.
Log the failures rather than fixing them ad hoc, and address them in structural order: hair silhouette, face proportion, eye spacing, then everything else. Two focused correction rounds against a written list beat ten unfocused regenerations.
What Are Your Options Beyond AI: Filters, Commissions, and Manual 3D?
AI generation is one of four routes to an anime version of yourself, and not automatically the right one. The choice depends on whether you need a picture or a model, how much likeness accuracy the use demands, and what you will spend in money or hours.
2D Anime Filters vs a True 3D Anime Model of Yourself
An AI anime filter is an image-to-image transformation: it repaints your selfie in an anime style, producing one 2D picture from that camera angle, expression, and lighting condition. Snapchat, TikTok, and a long list of photo to anime converter web apps do this in seconds, most free or a few dollars a month.
For a profile picture that is genuinely sufficient. The limitation is that filter output is terminal: you cannot turn its head, change the expression, relight it, pose it, animate it, put it in a game, drive it from a webcam, or print it. Ask for a different angle and you are running the filter again on a different photo and getting a subtly different character, because 2D filters have no persistent underlying identity.
A 3D anime character of yourself is a persistent asset: one build gives every angle, every expression through blendshapes, every lighting setup, and any output resolution, all of the same character. It costs more effort up front and is the only option once you need more than a single static image.
- Choose a 2D filter for a one-off avatar, a quick post, or a fun experiment with no downstream use.
- Choose 3D for VTubing, game characters, animation, merchandise, 3D printing, AR, consistent branding, or anything you will need again next month in a different pose.
Commissioning an Artist: What $40-$300 Anime Portraits Actually Get You
Commissioning a human artist buys judgement. A skilled anime illustrator looks at your photo, identifies the two or three cues that make your face yours, and exaggerates exactly those, which is a genuinely different capability from statistical stylization. Typical market rates sit roughly in these bands, with wide variation by artist reputation and region:
- $40-$80: a 2D anime bust or headshot, flat or simply shaded, one character, often 3 to 10 days turnaround.
- $80-$150: half-body illustration with full shading and a simple background, one or two revision rounds.
- $150-$300: full-body character with rendered shading, a designed outfit, and often a character sheet or an alternate expression.
- $300-$2,000 and up: a rigged VTuber model, Live2D or 3D, which is a different scope entirely and can take 4 to 12 weeks.
The trade-offs are consistent. You get artistic judgement, an original design, and usually commercial licensing if you negotiate it. You wait days to weeks, and you pay again for every additional pose or expression. Unless you commission a 3D modeller specifically, what you receive is a 2D image file, not a model you can pose or export: the best route for one high-quality illustration, a poor route for an asset you need to reuse.
VRoid Studio and Manual Sculpting: The DIY Route and Its Learning Curve
Building it yourself is free and gives complete control, along two paths with very different demands.
VRoid Studio, from Pixiv, is a free dedicated anime character creator: adjust face parameters with sliders, paint hair with a strand tool, texture-paint face and clothing, and export a rigged VRM ready for VTuber software and social VR. Most people get a usable character in an afternoon. The catch for likeness work is that it is parametric, steering a fixed base mesh toward your face, which works for common face shapes and hits a ceiling outside the slider ranges. It also has a recognisable house style, so VRoid characters often read as VRoid characters first.
Manual sculpting in Blender, which is free, or ZBrush has no ceiling at all: you can match any face exactly. The cost is the learning curve, since sculpting, retopology, UV unwrapping, texture painting, rigging, weight painting, and blendshape authoring are each a real skill, and a competent stylized character from scratch is commonly 40 to 100 hours for someone learning.
A pragmatic hybrid many people land on: generate the base with AI for correct proportions and a matched likeness, export FBX, then finish by hand in Blender, adjusting hair clumps, painting the face texture, and tuning shading. That collapses the hardest part into minutes and leaves a clean, editable asset for the parts you enjoy.
Where to Use Your Anime Self: Game Engines, Social Posts, VTubing, and 3D Prints
Knowing the destination before you build changes several decisions, so it is worth being specific about what each one needs.
- Game engines (Unity, Unreal): import FBX or GLB. Budget 15,000-40,000 triangles for a hero character, 2048 maps, and a humanoid rig so you can retarget existing animation. Build the toon material in-engine rather than baking shading into textures.
- VTubing and social VR: export VRM with the full 52-blendshape set for face tracking, and hit the platform's limits, often under 32,000 triangles on desktop and 7,500-10,000 on standalone headsets, with material count kept low.
- Social posts and static images: render from the model at any angle and expression. This is the underrated advantage over a filter: an unlimited, consistent supply of images of the same character.
- AR: export USDZ for iOS Quick Look, so anyone can open your character in their room from a link with no app install.
- 3D printing: different rules. The mesh must be watertight and manifold, hair cards and thin accessories need thickening to at least 1.5-2 mm at print scale, and a 1:10 figure at roughly 17-18 cm is the common desk size. Resin printing at 25-50 micron layers holds stylized detail well.
If several apply, build once at the highest requirement, usually the game or print version, and derive lighter variants down from it. Regenerating separately for each destination produces characters that do not quite match, defeating the point of a persistent 3D identity.
How AI Generation Compares on Speed, Cost, and Export Formats
Put the four routes side by side and the decision is usually obvious once you have named the destination.
| Route | Time to result | Typical cost | Output | Likeness control |
|---|---|---|---|---|
| 2D AI anime filter | Seconds | Free to a few dollars a month | One 2D image, one angle | Low, no iteration on structure |
| AI 3D generation | Minutes per pass, hours including refinement | Subscription tiers | Rigged mesh, GLB, USDZ, FBX, VRM | High, prompt plus geometry editing |
| Commissioned illustration | 3 days to 4 weeks | $40-$300 typical | 2D image files | Very high, but 2D only |
| Commissioned 3D or VTuber model | 4 to 12 weeks | $300-$2,000 and up | Rigged 3D model | Very high |
| DIY (VRoid or Blender) | An afternoon to 100 hours | Free, plus your time | VRM or any format you export | Ceiling set by your skill |
AI 3D generation occupies a useful niche: it is the only route that produces a rigged, exportable, multi-format model in the session you started it. Going from selfie to anime in three dimensions used to mean weeks of waiting or weeks of learning. The generative path collapses the geometry and texture problem, leaves an editable asset, and keeps human refinement available on enterprise tiers when a difficult likeness needs a modeller's eye.
Where it is weaker: it will not out-judge a good artist on a difficult face, it needs iteration and some technical taste, and it will occasionally produce a technically clean model that simply is not you, which is what the verification routine above is for. For broader exploration, the wider 3D model generation platform covers objects, environments, and characters beyond likeness work, and the original anime character generator is the starting point when you want to invent a character rather than reproduce yourself.
Frequently Asked Questions About Turning Yourself Into an Anime Character
What would I look like as an anime character?
The answer to what would I look like as an anime character depends on which substyle you pick and how much of your real geometry you preserve. Your eyes would be 1.5 to 3 times taller relative to your face, your nose would shrink to a wedge or a line, your jaw would narrow, and your hair would become 8 to 30 solid clumps that keep your silhouette. Skin tone flattens to two or three values with a cooler, more saturated shadow.
The fastest way to find out is to generate it rather than imagine it: upload a front and a three-quarter photo, describe your own structural features, and compare the result to your reference at thumbnail size.
Is there a free AI that turns you into an anime character?
Yes, for 2D. Plenty of free web tools and mobile filters convert a selfie into an anime-styled image at no cost, and Snapchat and TikTok effects do it in real time. Those produce a single flat picture from one angle, usually watermarked or resolution-limited on the free tier.
Free 3D is more limited. VRoid Studio is genuinely free and exports rigged VRM avatars, but it is a slider-based creator rather than a photo converter, so likeness is something you approximate manually. Platforms that build a rigged 3D model from your photo generally run on subscription tiers, since generation, rigging, and export is far heavier than a 2D repaint.
How do I make an anime version of myself from a selfie?
Start with a better selfie than you think you need: front-facing, eye level, soft even light, neutral expression, at least 1024 px on the long edge, plus a three-quarter angle if you can. Write a prompt describing your face structurally, face shape, jaw, brow, eye shape and spacing, nose, hair pattern, then add the anime style token at the end. Generate, then compare against your photo at 128 px to see whether the likeness holds.
Correct in order: hair silhouette, face proportion, eye spacing, then everything else. Add your glasses or a signature accessory early, since rigid objects survive stylization perfectly and buy a lot of recognition for very little work.
Can I turn myself into a 3D anime character instead of just a filter?
Yes. An anime 3D model from photo workflow reconstructs actual geometry rather than repainting pixels, so you end up with a mesh you can rotate, pose, animate, relight, and export. Threedium's Julian NXT generator does this from your reference images, producing a textured mesh, PBR maps you can flatten to toon shading, an auto-rigged humanoid skeleton, and 52 ARKit blendshapes for expressions.
The practical difference is reuse. A filter gives you one image at one angle; a model gives you every angle and every expression of the same consistent character, in GLB, USDZ, FBX, or VRM. That is what makes it viable for VTubing, game projects, animation, AR, and 3D printing, none of which a 2D filter can serve.
What app turns your photo into anime?
For 2D the category is crowded: Snapchat and TikTok have built-in anime effects, and many standalone mobile and web converters return a stylized image in seconds. They are cheap, fast, and fine for a profile picture.
For 3D the tools are different in kind. VRoid Studio builds anime avatars from parameters rather than photos, Blender and ZBrush let you sculpt anything given the skills and hours, and image-to-3D platforms sit between the two, taking your photo and returning a rigged model. Pick by output: if you need a picture, use a filter; if you need an asset, you need a 3D pipeline. For an anime persona rather than a likeness, the anime avatar workflow is the closer fit.
How much does it cost to commission an anime character of yourself?
For 2D illustration, expect roughly $40-$80 for a bust, $80-$150 for a half body with full shading, and $150-$300 for a rendered full-body character with a designed outfit. Turnaround is commonly 3 days to 4 weeks depending on the artist's queue, with one or two revision rounds included and extra rounds billed.
Rigged models are a different scope. A Live2D or 3D VTuber model of yourself typically runs from $300 into the low thousands and takes 4 to 12 weeks, because it involves character design, modelling, texturing, rigging, and expression authoring as separate stages. Always confirm commercial usage rights explicitly in the agreement, since personal-use-only licensing is the default for many artists and matters if the character will appear on a monetised channel or a product.
Will the anime character actually look like me?
It can, but not automatically. Likeness survives when you preserve the features anime keeps, hairstyle silhouette, eye shape and spacing, jaw-to-cheekbone ratio, brow shape, skin tone, and accessories, and accept the loss of what it discards, mainly nose detail, skin texture, and fine asymmetry. Getting there normally takes two to four generations plus a targeted correction pass, not one click.
Verify rather than assume. Compare render and photo at 128 px and again at 48 px, compare filled silhouettes, and show the result to two or three people who know you without saying what it is. Where a face is genuinely hard to stylize, enterprise refinement by human 3D artists is the reliable fix. For the same likeness principles applied to other styles, see the turn yourself into a 3D model hub.